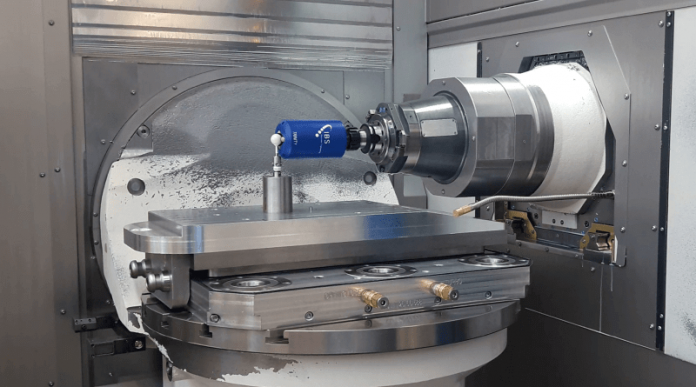
Qualifying the performance of 5-axis machines can be complex. The Rotary Inspector measurement system from IBS provides a revolutionary method to simplify this process; enabling rapid assessment and correction of the 5-axis machine kinematic performance.
Five-axis machining is changing the face of advanced manufacturing. IBS understand how critical monitoring and control of the accuracy of a machine will deliver the 5-axis performance needed. IBS set out to make a solution simple and fast enough that it could be integrated into normal production avoiding scrap, rework and unneccessary test samples. The result of the IBS development was its Rotary Inspector.
The Rotary Inspector is designed to determine, and correct, critical performance parameters with the accuracy and speed needed to integrate into the production schedule. It provides a simple approach to ensuring the geometric and dynamic performance of the machine.
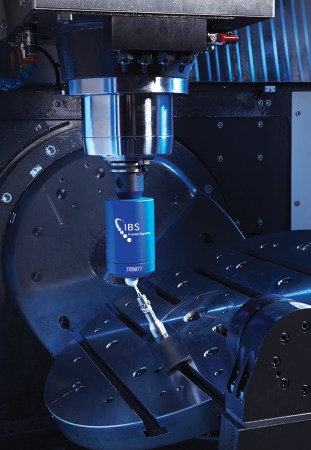
Based on standard ISO measurements, the Rotary Inspector delivers fully automated measurement in less than a minute to derive the total 5-axis machine tool accuracy. It also calculates the pivot line offsets and squareness errors. A standard quality report is produced, simplifying in-house quality management of machines as well as providing an auditable document of the machine status.
An optional Rotary Inspector Data Manager module provides an overview of the history and current status of all machines integrated into the Rotary Inspector quality procedure. Machines can be monitored at a group, cell or factory level providing instant feedback on the status of the installed 5-axis machine base – for improved scheduling, reduced errors and customer compliance.
Accuracy: 5-axis dynamic measurement according to ISO 10791-6, with 0,2μm resolution
Speed: Measurement in under 1 minute. Optional controller correction applied directly on-line
Automatic Quality Report: ISO-defined machine error values plus indicators for predicted product geometrical and surface errors


