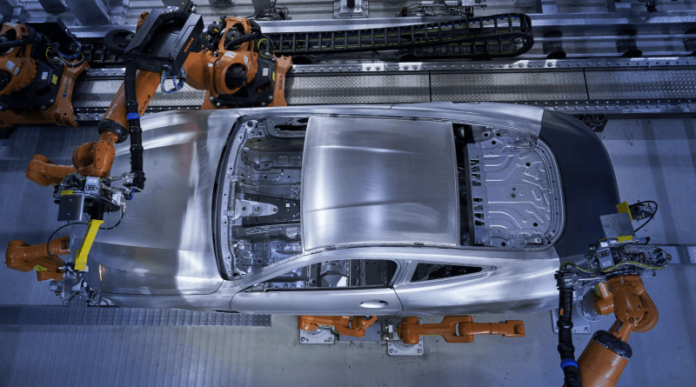
As Industry 4.0 introduces a new era of digitization, BMW has developed a new and innovative, fully automated inline measurement cell for quality control. Featuring Laser Radar, the multiple measurement cell combines a whole range of industry leading measuring solutions for full geometric inspection of vehicle body parts.
In the past, body-in-white measurements had been performed in two phases. Firstly directly on the production line with low accuracy sensors to monitor the process, and secondly in a dedicated metrology room with offline CMMs and other measurement systems. This is typically very time consuming and requires extra manual work for fixturing and alignment leading to a disjointed process.
BMW’s new inline multiple measurement cell streamlines this phase by integrating the measurement process into the production flow and can operate 24/7.
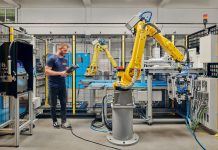
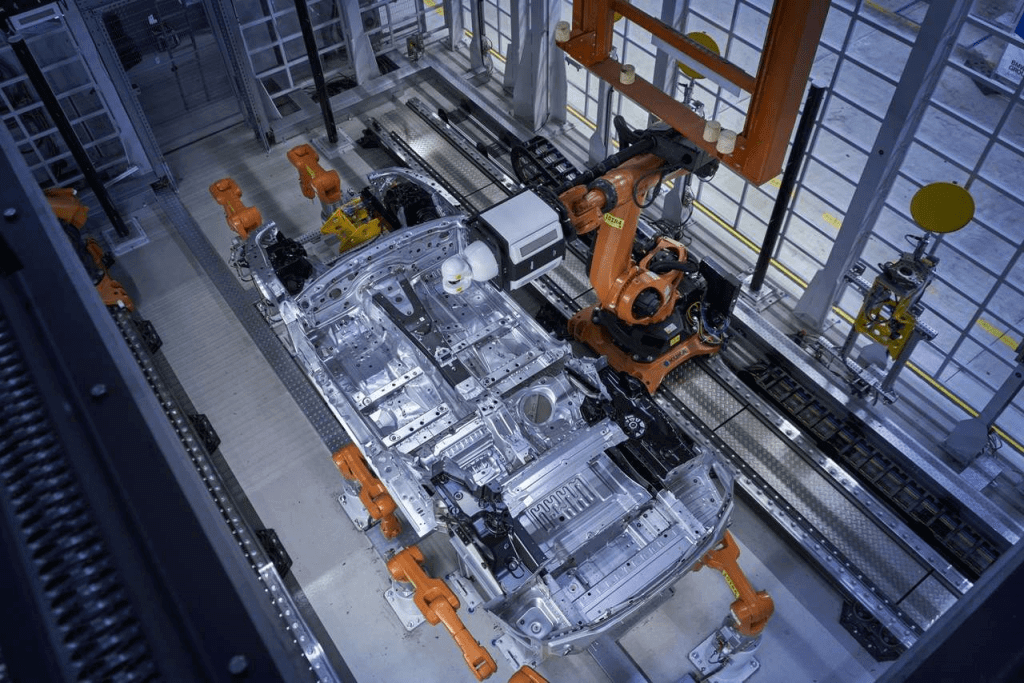
The inline measurement cell features four robots and a range of innovative measurement methods, including the Laser Radar. The Laser Radar is used to measure the geometry of the car body to ensure all 300 bolts are present and correctly positioned in the floor of the car body in only 20 minutes. The process of the inline measurement cell greatly improves productivity and enables a higher quality output.
Source: BMW
Until recently sampling control vehicles had to be outsourced from ongoing production and controlled in a separate measuring room using various measuring methods, the multi-cell is fully integrated into the production flow of the bodies – and works around the clock, seven days a week if required. It offers tremendous advantages in terms of flexibility, time and cost, but also an even more efficient quality control.
Today, within 30 minutes, a fully automated complete measurement of the entire vehicle body is possible. In addition, the measuring system, in which the plant has invested over two million euros, has been designed to be extremely flexible: all vehicle models manufactured in BMW Dingolfing can be inspected in this way. The cell thus plays an important role in ensuring the quality of new vehicle model introductions.
Virtual Image Vehicle Body In 30 Minutes
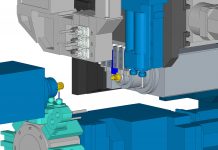
The space-saving measuring cell with its four measuring robots combines various innovative measuring methods: Bolt and geometry measurements are carried out using laser radar technology. Body floor groups can be checked in just 20 minutes for the completeness and positioning of the approximately 300 bolts.
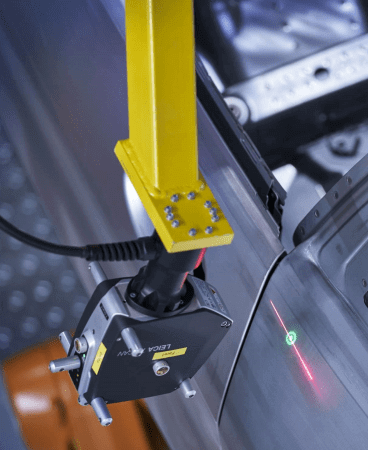
Finished bodies are fully digitized within 30 minutes by using 3D surface scanning technology. This virtual model delivers in seconds a complete picture of the geometric state of the body. Each robot checks 210,000 measuring points per second, ten gigabytes of evaluation data is collected per body. The respective manufacturing expert receives the measurement results online, in real time. If required, the employee can initiate targeted measures in order to further optimize the body and ensure premium customer quality.
Source: BMW
A unique highlight of the system is eight additionally integrated small robots that fully automatically check gap and offset measurement. During the measurement, they align the doors and flaps of the body in accordance with the position of the attachments previously determined by laser radar.
Cross-Technology Measurement Strategy
The aim of the quality specialists in the BMW Group Dingolfing plant is always to realize optimum vehicle quality throughout the entire production process. The multi-purpose cell in the Dingolfinger body shop makes an important contribution to this. Integrated into a cross-technology measurement strategy at the site, the measuring cell is connected to corresponding gap and offset measurements in the paint shop and assembly.

